
PCB design:Component Reference Designators
PCB design:Component Reference Designators
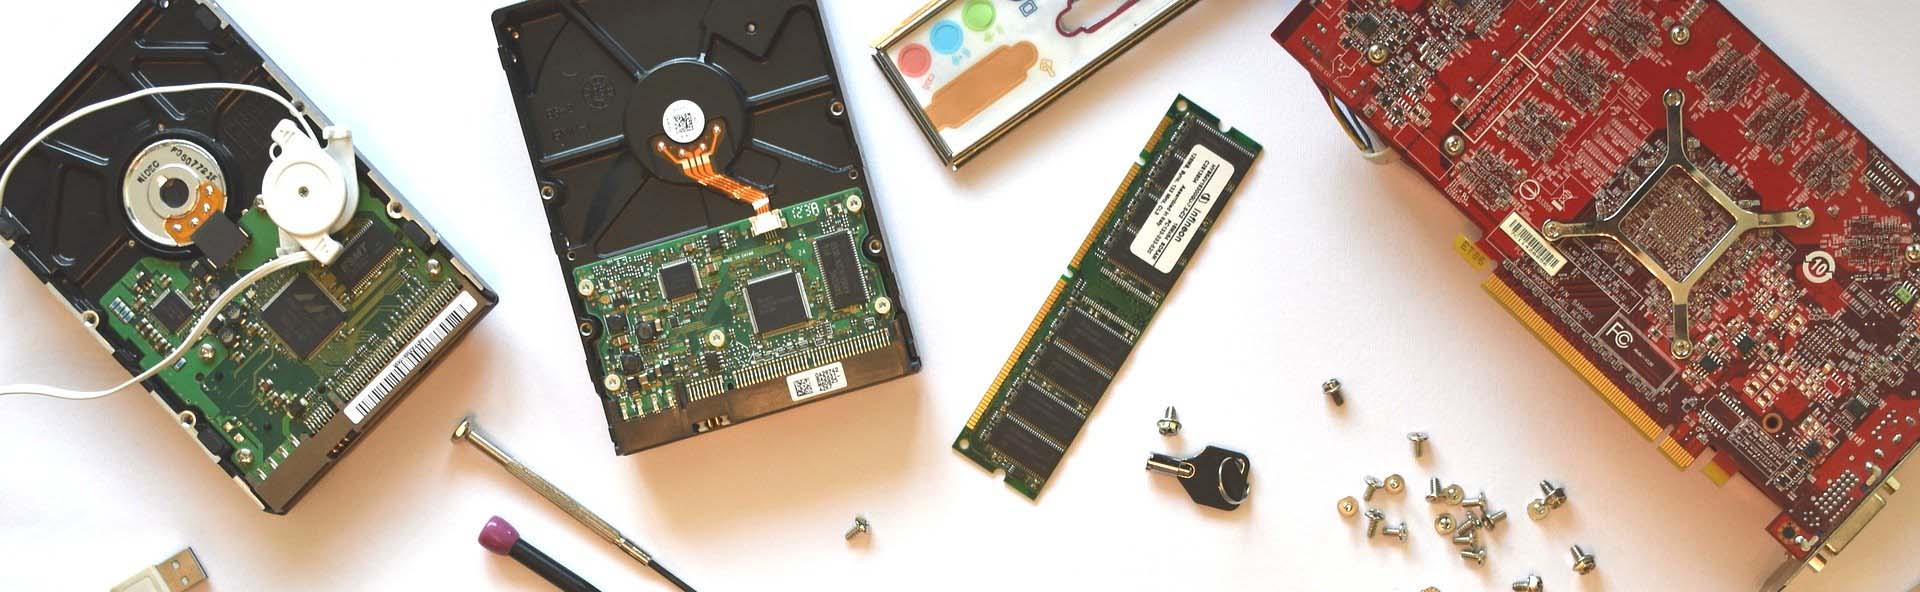
Increasingly, PCB assemblies are becoming more dense due to end-user demands for greater functionality and portability/compactness. While most assembly manufacturing is automated, design teams still need a legend to troubleshoot issues (missing/misplaced components, component failure, etc.) for quality control. Component reference designators are an apt solution: they’re printed on the silkscreen layer and support easy cross-reference between the BOM, schematic, board file, and assembly.
Common Reference Designator Legends
B:Battery
C:Capacitor
D:Diode
F:Fuse
FB:Ferrite bead
J:Connector
L:Inductor
Q:Transistor
R:Resistor
TP:Test Point
U:Integrated Circuit
X:Crystal/oscillator
Key Takeaways
1.Component reference designators are alphanumeric legends that support cross-referencing between the board and documentation/files.
2.Legibility is essential with reference designators – choose sizes, fonts, and colors that are easily readable without magnification; avoid overcrowding text on the silkscreen layer.
3.Designers can use reference designators (and other cross-referencing tools) to guide component grouping during placement.

Figure 01:The component reference designator (alphanumeric white text) is a visual cross-reference tool for the BOM, schematic, and board file.
The Value of Component Reference Designators
PCB assemblies can contain thousands of discrete components, which can make troubleshooting and replacement an issue were it not for the humble reference designator. The reference designator is a simple alphanumeric code that designers can use to link back to the BOM for cross-referencing. If, for example, testing reveals that a signal process is not propagating as expected, test engineers can probe around to determine the source of the error. For a cheap component, rework could replace the offending part with the hopes of correcting the issue (or at least isolating it). It’s also possible to discern whether there were any issues with the component integration, such as a mismatched land pattern/installation, an incorrect placement during automated assembly, etc.
For such an essential feature of the board, the reference designator is often the last step in the design phase out of necessity. Simply put, when board real estate is at a premium (as is often the case for HDI designs), component placement and signal routing must take priority over the ability to cross-reference. Designers will rarely have enough space for all the reference designators, as there is an insufficient solder mask area, and attempting to shrink the reference designators to a small enough size usually results in an illegible mess. A valuable readability tip for layout designers (or any other ECAD designers): it’s much easier to zoom/magnify a view of the board file than a static printed silkscreen, printer documentation, etc. Designers should minimize designator size variance as much as possible – determine a minimum legible size, then apply the format across the PCB.

Figure 02:Reference designators help keep dense schematics and boards readable.
Reference designator orientations should only use two possible rotations (0° and ± 90°) – this generally covers the physical placement of all the components, i.e., series or parallel configuration, but can also be a more effective method of optimizing board space. It can ease readability to match the general orientation of the physical components. Consider an array of standard chip packages, such as resistors and capacitors: it makes sense (space provided) to match the orientation between the designator and component, especially if the immediate area around the component cannot support the silkscreen text. Occasionally, component rotations at ± 45° intervals or smaller will be necessary (think RF traces, where the components tend to align with the trace rather than vice versa. An additional reference designator rotation angle for these components is acceptable.
Additionally, if there is not enough board real estate to fit all of the reference designators, start by suppressing (not deleting – this muddles cross-referencing ease between schematic and board file!) the non-polarized component reference designators (once again, resistors, capacitors, etc.) where cross-referencing needs are usually minimal. Orientable packages like diodes, polarized caps, connectors, any ICs, and test points should all receive preferential placement on the silkscreen, as these are more likely to exhibit issues from incorrect/incomplete assembly or require visibility for testing. Generally, the quickest way to suppress the reference designator is by switching the layer subclass to a non-visible layer unassigned in the printed documentation.
Know more click at here: How Designers Can Utilize component Reference Designators during PCB design?
PCB Blog
Contact Us
E-mail: [email protected]
E-mail: [email protected]
Skype: [email protected]
Whatsapp: +86 15012972502
Add: 2F, BUILDING H, WANDA INDUSTRIAL ZONE, ZHOUSHI ROAD, LANGXIN COMMUNITY,SHIYAN STREET, BAO 'AN DISTRICT, SHENZHEN, GUANGDONG, CHINA


 Skype Chat
 WhatsApp
  Mail inquiry